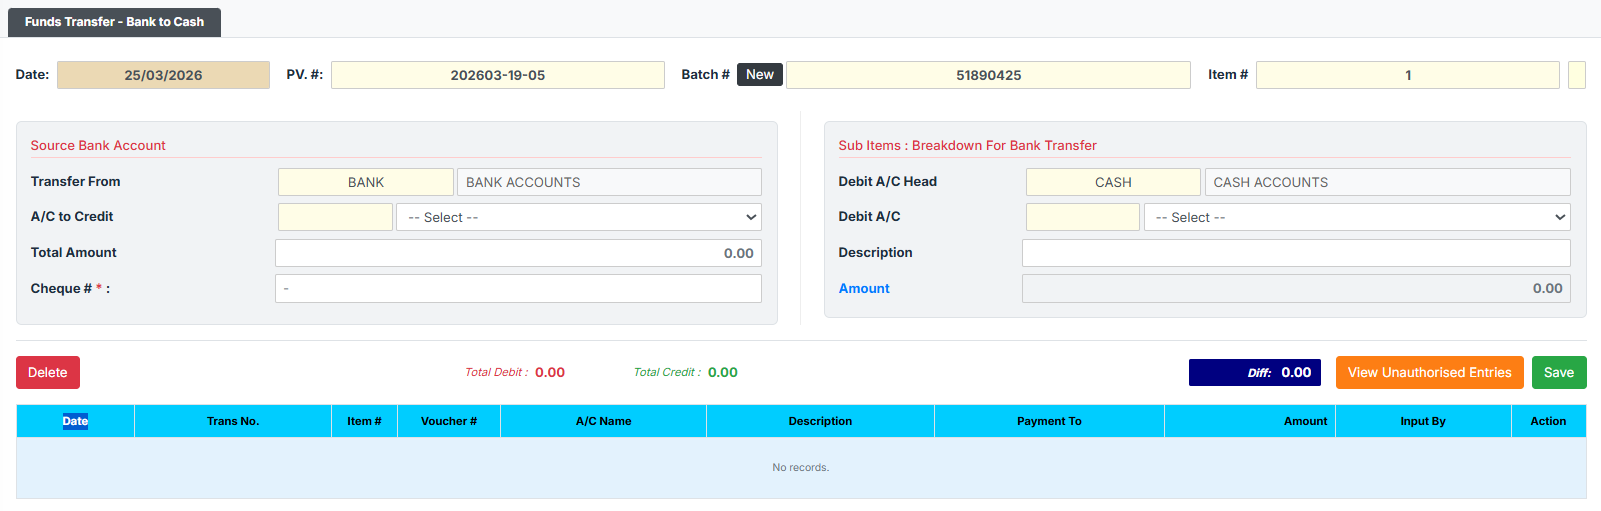
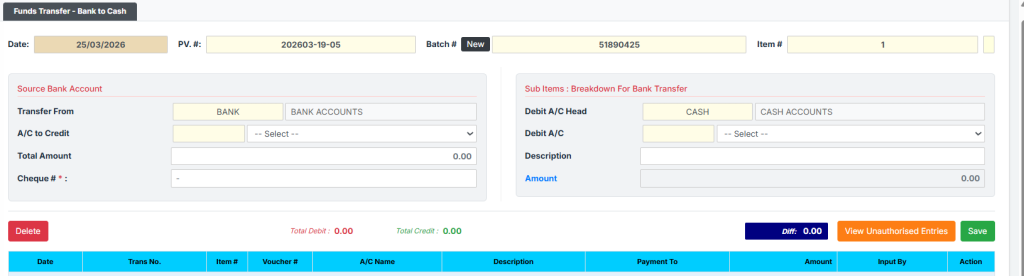
The Funds Transfer – Bank to Cash page facilitates withdrawing funds from an internal branch Bank Account and bringing physical cash into a Teller’s Cash Till or the Branch Vault. This dual-entry system ensures accurate accounting by crediting the external bank account and debiting the internal cash account, whilst strictly requiring a physical breakdown of the acquired currency to prevent fraud.
PURPOSE
- Record cash withdrawals from branch bank accounts intended to safely fund teller tills or main vaults.
- Ensure all bank withdrawals have a strict physical paper trail via the mandatory Cheque #.
- Enforce a physical count through the Cash Denominations module to prove that the exact physical cash received from the bank matches the system entry.
- Maintain error-free, balanced accounting by aggressively synchronizing the digital transaction sides.
STEP-BY-STEP GUIDE
Step 1 — Start the Transfer
- Access the Back Office Module or Teller Module – Bank to Cash Transfer page.
- The topmost section will automatically timestamp the transaction, generate a sequential PV. # (Payment Voucher), and supply a unique Batch #. (To discard any current input and clear the form, click the black New button next to the Batch #).

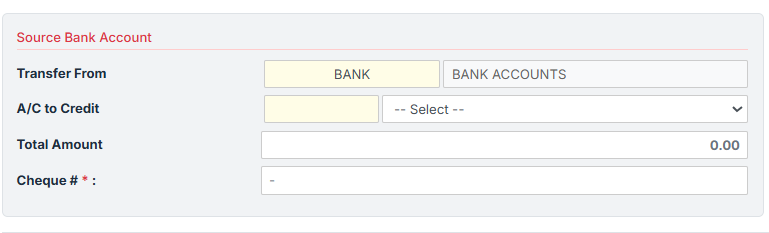
Step 2 — Configure the Source (Bank Output) In the left column (Source Bank Account):
- A/C to Credit: Choose the branch Bank Account from which the funds are being drafted.
- Total Amount: Type the gross amount of the bank withdrawal. (Note: To balance the books, the system will automatically lock the Destination Amount on the right side to conform to this exact number).
- Cheque #: Enter the physical cheque number or bank reference number used for this withdrawal. This is a mandatory field.
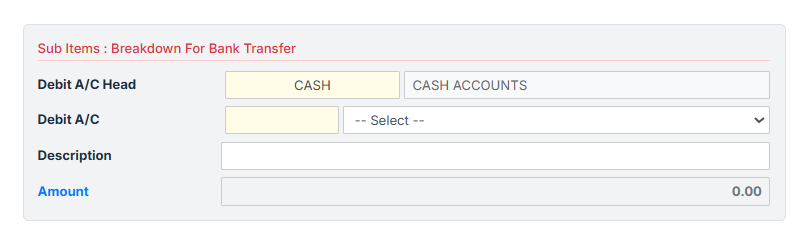
Step 3 — Configure the Destination (Cash Input) In the right column (Destination / Cash Breakdown):
- Debit A/C: Select the Teller Cash Till or Branch Vault Account that is receiving the physical cash.
- Description: Briefly explain the transfer (e.g., “Funding vault for weekend operations”). (Note: The system securely copies this description to the hidden accounting “Payment To” field behind the scenes).
- Verify that the read-only Amount strictly matches what you entered in Step 2.
Step 4 — Verify Totals and Secure Cash Count (Anti-Fraud)
- Ensure the footer’s red Total Debit perfectly balances the green Total Credit, leaving
0.00in the local Diff box.

- Click the green Save button.
- Because physical cash is entering the premises, the system triggers a strict Anti-Fraud block via the Cash Denominations window.
- You must physically count the money brought back from the bank and enter the exact notes/coins into the system. The internal
Denomination Totalmust strictly match yourTrans. Total, otherwise you cannot proceed and the Save button remains disabled. - Once your physical count balances exactly, click the orange Save [F6] button inside the popup to unlock and finalize the entire transaction.
Step 5 — Managing Saved & Pending Batches
- New transactions sit in the bottom grid as “Unauthorised” entries.
- Recall: To view or modify a batch, click the blue View Unauthorised Entries button and click SELECT on the desired row.


- Edit & Delete: Recalled entries automatically lock to prevent mistakes. Click the blue Edit button to unlock fields for adjustments. To fully discard a recalled transaction, click the red Delete button below the main form.
KEY NOTES
- Strict Validation: The system will outright reject the save attempt if you are missing the Source, Destination, Cheque #, or if your physical Cash Denominations count is imbalanced by even GHp 1 (0.01).
- Auto-Mirroring: Users cannot manually unbalance the accounts. The system strictly forces the Destination Cash Amount to mimic the Source Bank Amount entirely.
- Hotkeys: Press F6 on your keyboard to rapidly open the Cash Denomination popup or to quickly save the denomination grid once it is balanced!