The General Document module acts as an integrated digital filing cabinet within Sikasoft. It allows financial officers and administrators to securely attach, categorize, and archive digital files (such as scanned IDs, loan agreements, or mandate forms) directly to a specific customer’s profile. Featuring nested metadata management, the module ensures all customer-related documentation is highly organized, easily retrievable, and securely stored.
PURPOSE
- Digitally store and associate external files with specific member/customer accounts.
- Reduce physical paperwork and establish a central, accessible digital repository.
- Categorize documents using customizable “Document Types” and “Document Categories” to standardize record-keeping.
- Maintain a comprehensive historical log of all documents uploaded to an account, complete with timestamps and inputter tracking.
STEP-BY-STEP GUIDE
Step 1 — Locating the Customer
- Navigate to the Back Office Module and select General Document Upload.
- The initial view presents a search interface over a comprehensive customer directory.
- Type the customer’s account number, name, or phone number into the Search field. The
A/C Number,Account Name,Phone No., andAccount Officertable will dynamically filter as you type.

- Click the orange Action (Edit) icon next to your desired customer to open their specific Document Vault.
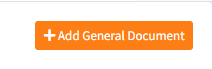
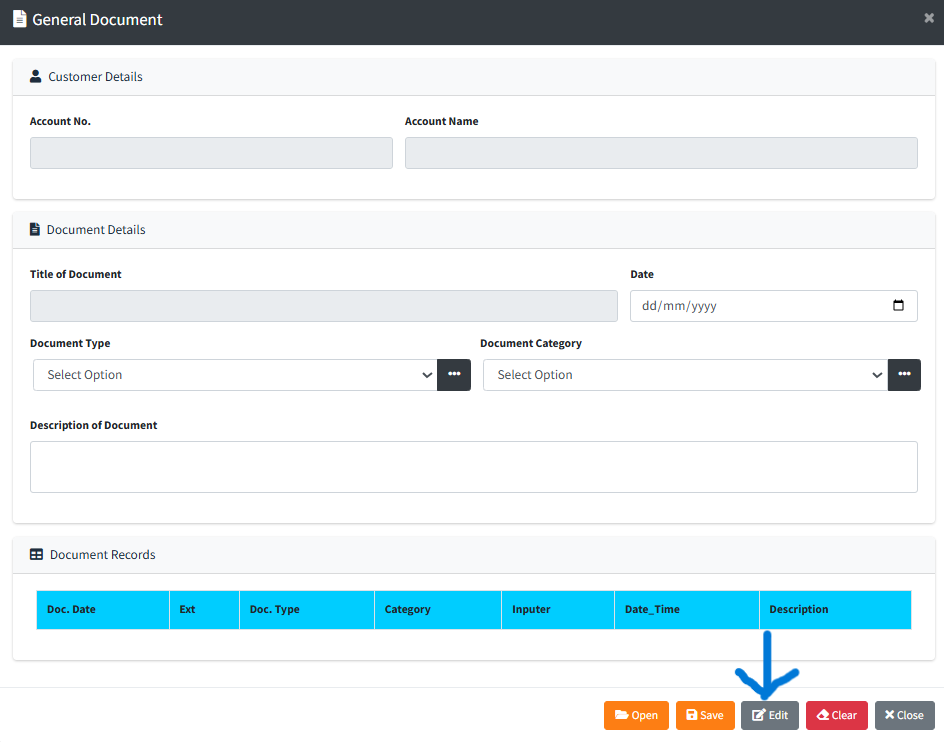
Step 2 — Opening the Document Vault (Alternatively, clicking the orange Add General Document button at the top opens an empty vault where you can manually map an account).
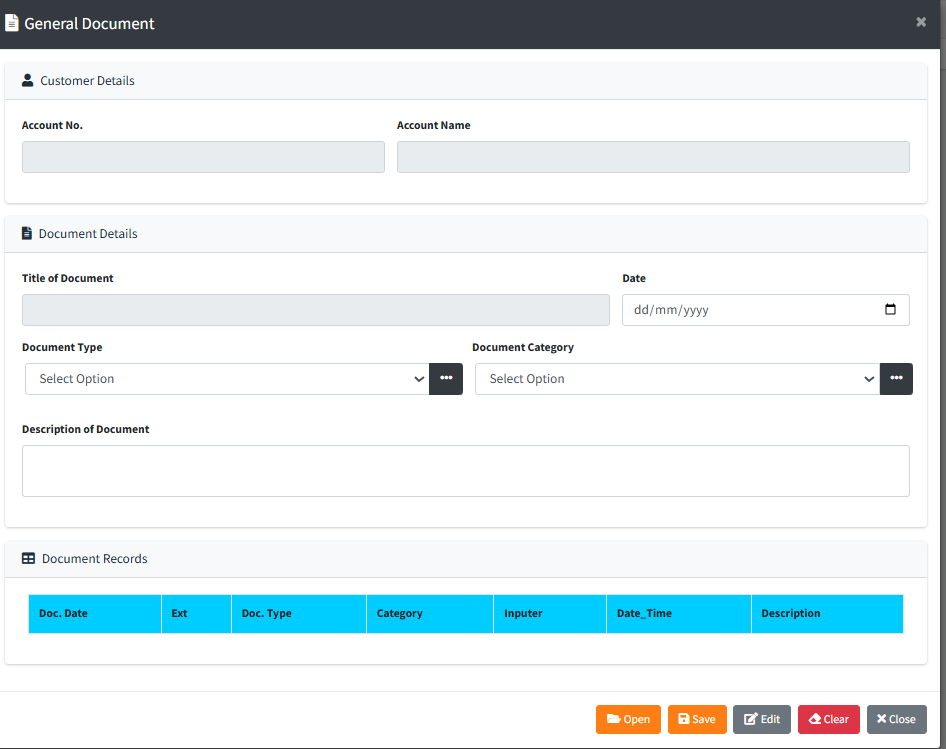
- Once inside the
General Documentmodal, verify the Customer Details (Account No. and Account Name) at the top. - Glance at the bottom Document Records table to see their existing historical files (e.g., Doc. Date, Extension, Category, description).
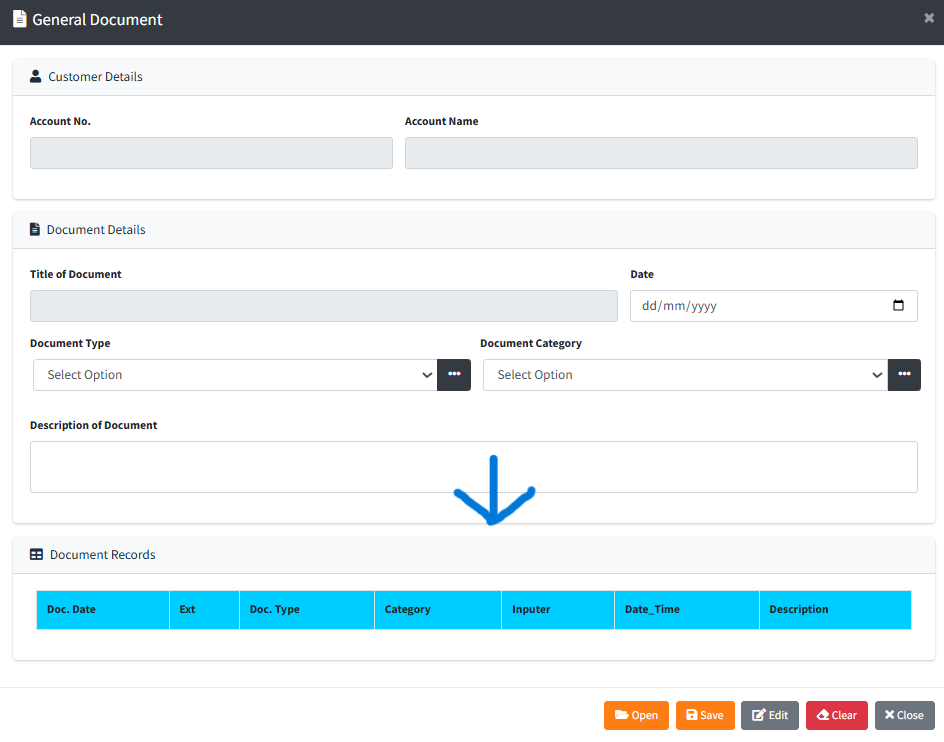
Step 3 — Uploading a New Document
- Click the orange Open (folder icon) button at the bottom left of the modal footer to trigger your operating system’s file selector.
- Select the file you wish to upload (e.g., a PDF, JPG, or DOCX).
- Fill out the Document Details section:
- Provide a clear Title of Document.
- Set the applicable Date.
- Select the Document Type and Document Category from the dropdowns. (Note: If the type or category doesn’t exist, click the dark ellipsis button
[...]next to the dropdowns to open nested setup modals and create new metadata tags on the fly). - Provide a detailed Description of Document.
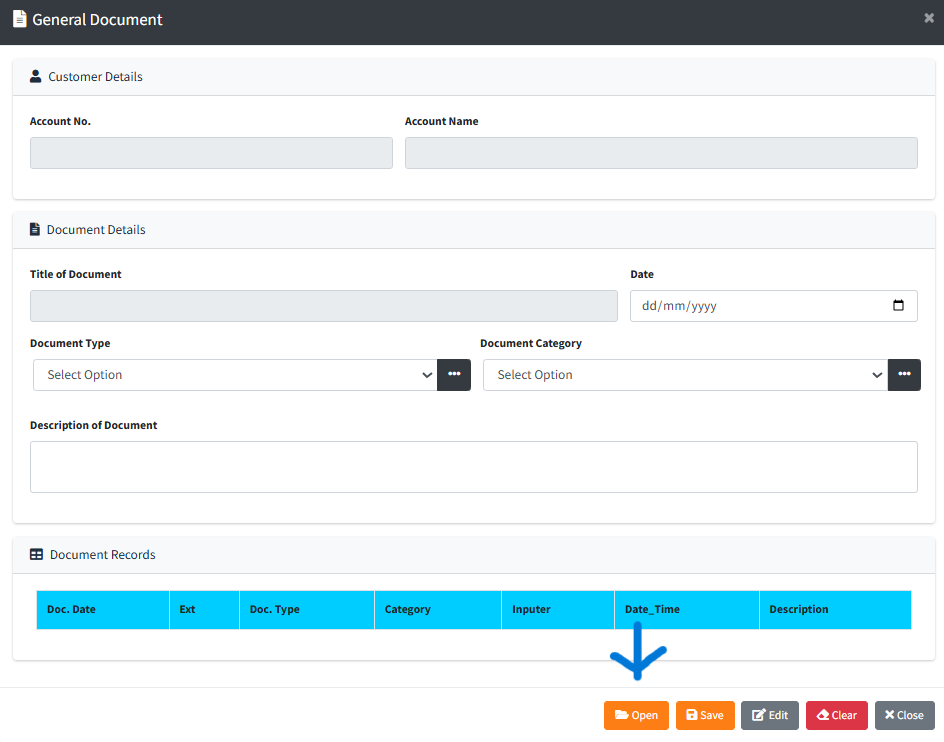
- Click the orange Save button in the footer to finalize the upload and anchor the file to the customer’s profile.

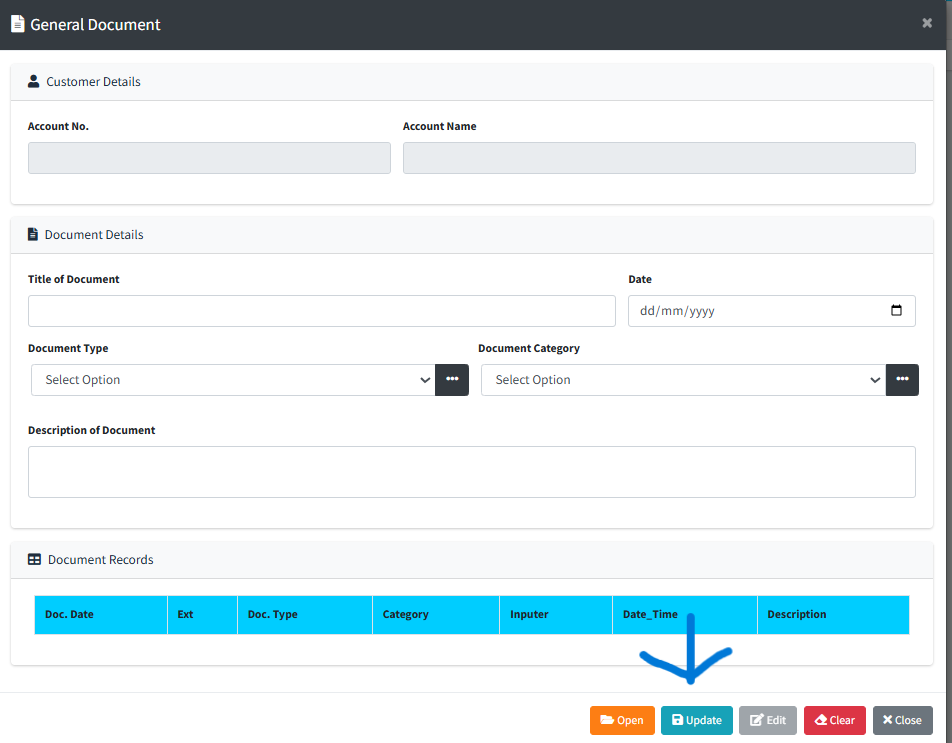
Step 4 — Editing Document Metadata
- If you need to fix a typo in the title or adjust the category of a document, click the grey Edit button in the modal footer to unlock the form fields.
- Make your necessary adjustments.
- The save button will turn into a light-blue Update button. Click it to commit your changes.
KEY NOTES
- Nested Setup Modals: The system supports dynamic master-data creation. You do not need to leave the customer’s vault to create a new Document Type. The nested modals stack cleanly and preserve your current upload progress.
- Form State Clearing: Use the red Clear button (eraser icon) in the footer to instantly wipe the current form state if you’ve made a mistake or wish to start a new upload sequence for the same customer.
- Supported Extensions: While the system can track file extensions (Ext column in the table), ensure you upload standard, secure file formats suitable for a Core Banking environment (e.g., PDFs, protected image files).