The Company Setup module is the central administrative hub for defining the master identity and core operational parameters of your financial institution within Sikasoft. This module establishes everything from your branch network and physical workstations to global accounting rules and loan deduction logic. Because these settings dictate how the entire system behaves, changes made here are subject to maker-checker authorization controls.
PURPOSE
- Define the global identity of the institution (Name, Logo, Slogan, and Contact Details).
- Establish the structural parameters of the core banking system (Savings & Loans, Credit Union, Microfinance, etc.).
- Manage the geographical footprint by adding, editing, and mapping new organizational Branches.
- Regulate specific devices by securing access to registered Workstations.
- Define global operational rules such as Default Suspense Accounts, holiday calendars, and loan interest calculation methods.
STEP-BY-STEP GUIDE
Step 1 — Accessing the Module
- Navigate to the Admin Setup module on the main side bar and select Company Setup.
- Select Company Setup.
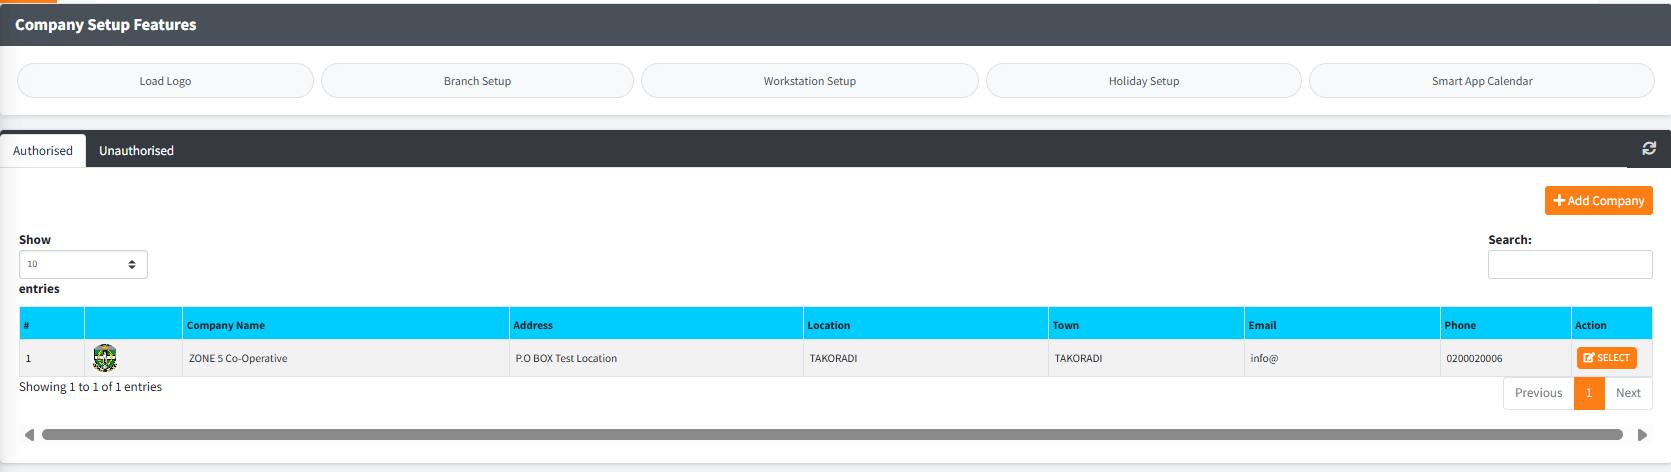
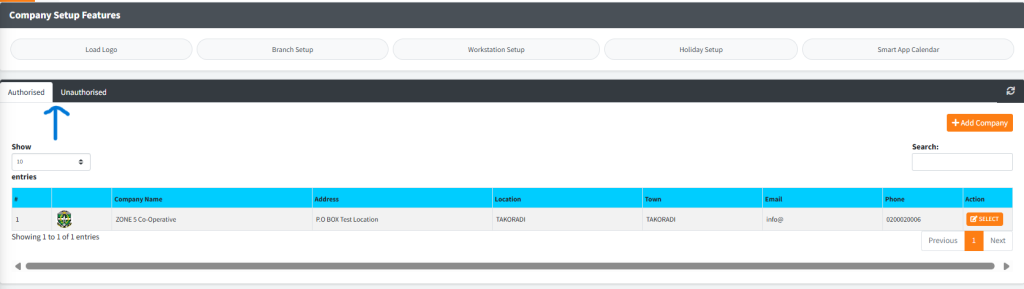
- The main dashboard will display an Authorised and Unauthorised tab containing active company records. Above the tables, you will see a top navigation bar titled Company Setup Features.
Step 2 — Modifying Core Company Parameters
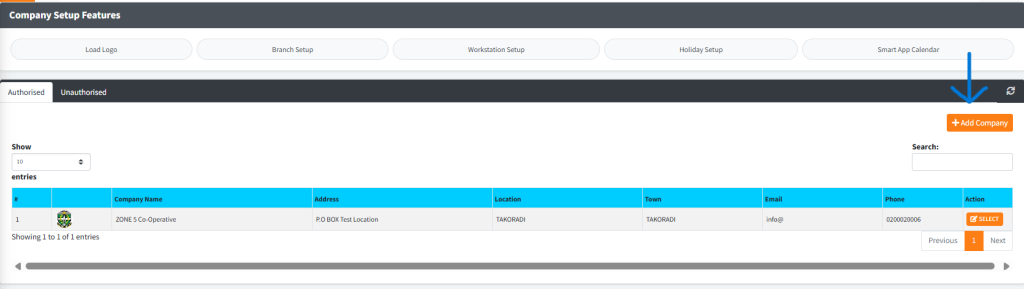
- To add a new company identity or modify an existing one, click the oranfe Add Company button or the corresponding action button on an existing record.
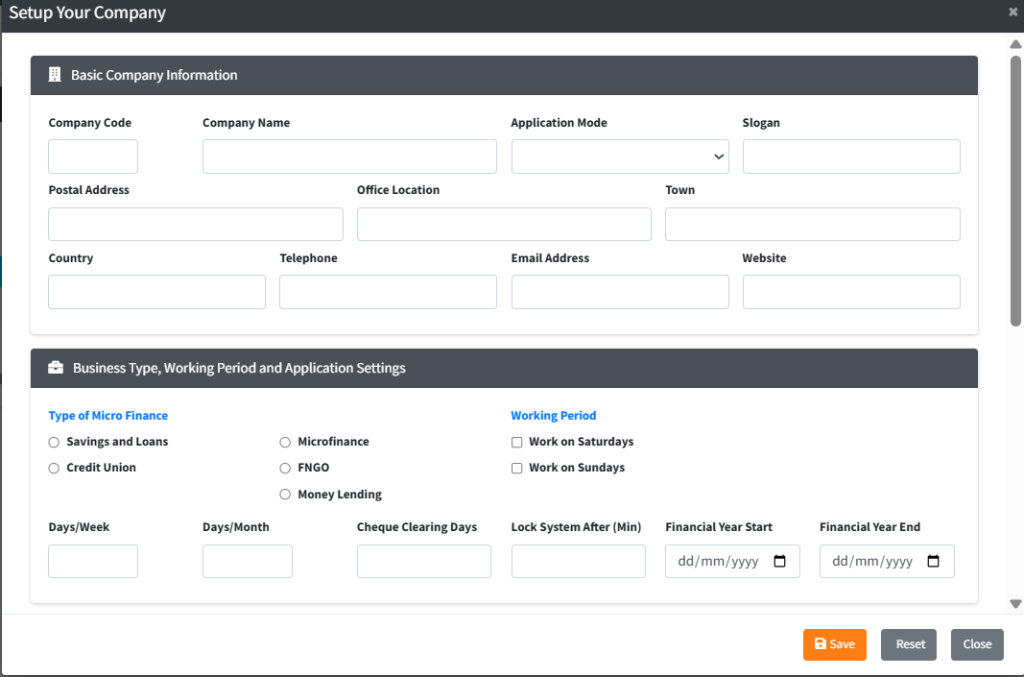
- Form fields are divided into distinct categories:
- Basic Info: Set your
Company Name, address, email, and the type of institution (e.g., Credit Union, Microfinance). - Loan Configuration: Define whether loan interest calculates Daily or Monthly, and select your
Loan Deduction Type(e.g., Interest First, Target Principal, Proportion). - Account Configuration: Assign a
Default Suspense A/Cby clicking the dark search button to pull from your Chart of Accounts. - System Configuration: Set the
Database Location, timezone, and backup locations. - Fixed Deposit Configuration: Define the notice periods and whether to waive interest during early discounting.
- Basic Info: Set your
- Once completed, click Save. This creates an unauthorised record that a supervisor must approve in the Unauthorised tab.
Step 3 — Utilizing Company Setup Features At the top of the main screen, click on any of the pill-shaped buttons to open specific setup modals:
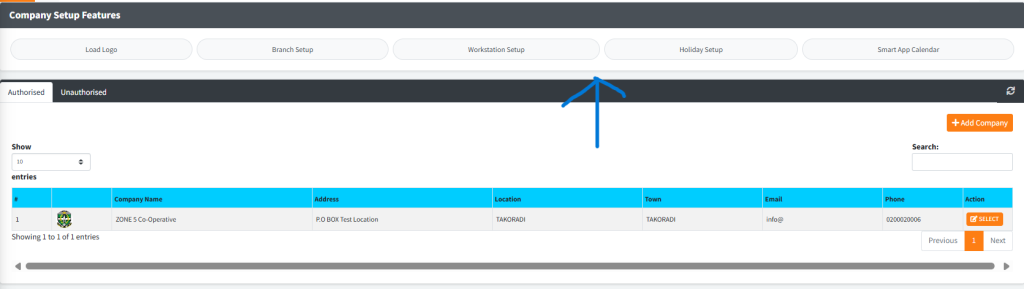
- Load Logo: Upload your institution’s official brand image. This logo will automatically reflect on all printed system reports and official receipts. Click the empty image holder, select your file, and click Save changes.
- Branch Setup: Define your physical locations.
- Input the
Branch Code,Branch Name, and select a specificBranch Vault A/C. - For mobile apps/agents, input geo-fencing requirements (
Latitude,Longitude,Meters). - Use the right-side table to bulk-assign specific General Ledger accounts to the newly created branch by selecting them and checking Send GL to Branch.
- Input the
- Workstation Setup: Restrict system access to specific devices. You can add the IP or machine ID of specific teller computers and mark their status as
EnabledorDisabled. - Holiday Setup: Configure public holidays. Critical: Setting a date here as a holiday will force the system to automatically reschedule any loan repayments falling on that date to the next available working day.
- Smart App Calendar: Define the fiscal month-end dates. For every month of the year, map the exact calendar date that the system considers the “month’s closure”. This regulates your EOM processes.
KEY NOTES
- Maker/Checker Protocol: As with other critical modules, modifying the base Company Setup generates an Unauthorised record. The person inputting the data cannot authorise the update. A separate administrator must log in to authorise the change.
- GL to Branch Bridging: When creating a new branch, it will have zero operating accounts until you explicitly map General Ledger accounts (like “Head Office Cash” or “Teller Drawer A”) to that specific branch using the checkbox tools in the Branch Setup modal.
- Geo-Fencing: The Latitude/Longitude/Meters parameters in the Branch Setup directly govern where field agents log into the mobile data compilation applications.