The Group Registration module is designed for the management of collective financial entities such as Susu groups, cooperatives, trade associations, or social clubs. This module allows the institution to register a “Group” as a single administrative unit while maintaining linked records of all individual members. It captures vital operational data including meeting schedules, leadership hierarchies (President, Treasurer, etc.), and group objectives, facilitating specialized group-based lending or savings schemes.
PURPOSE
- Standardize the registration of non-individual collective bodies.
- Document group governance structures for credit risk assessment.
- Link individual customers to a shared “Group Account” for collective reporting.
- Track meeting schedules and locations (via GPS) for field officer visits.
- Enable group-level analysis (Gender distribution, objectives, and leadership).
STEP-BY-STEP GUIDE
Step 1 — Accessing the Module
- Navigate to Customer Records module and select Group Registration via the sidebar.
- The dashboard displays Authorised and Unauthorised tabs for managing group statuses.

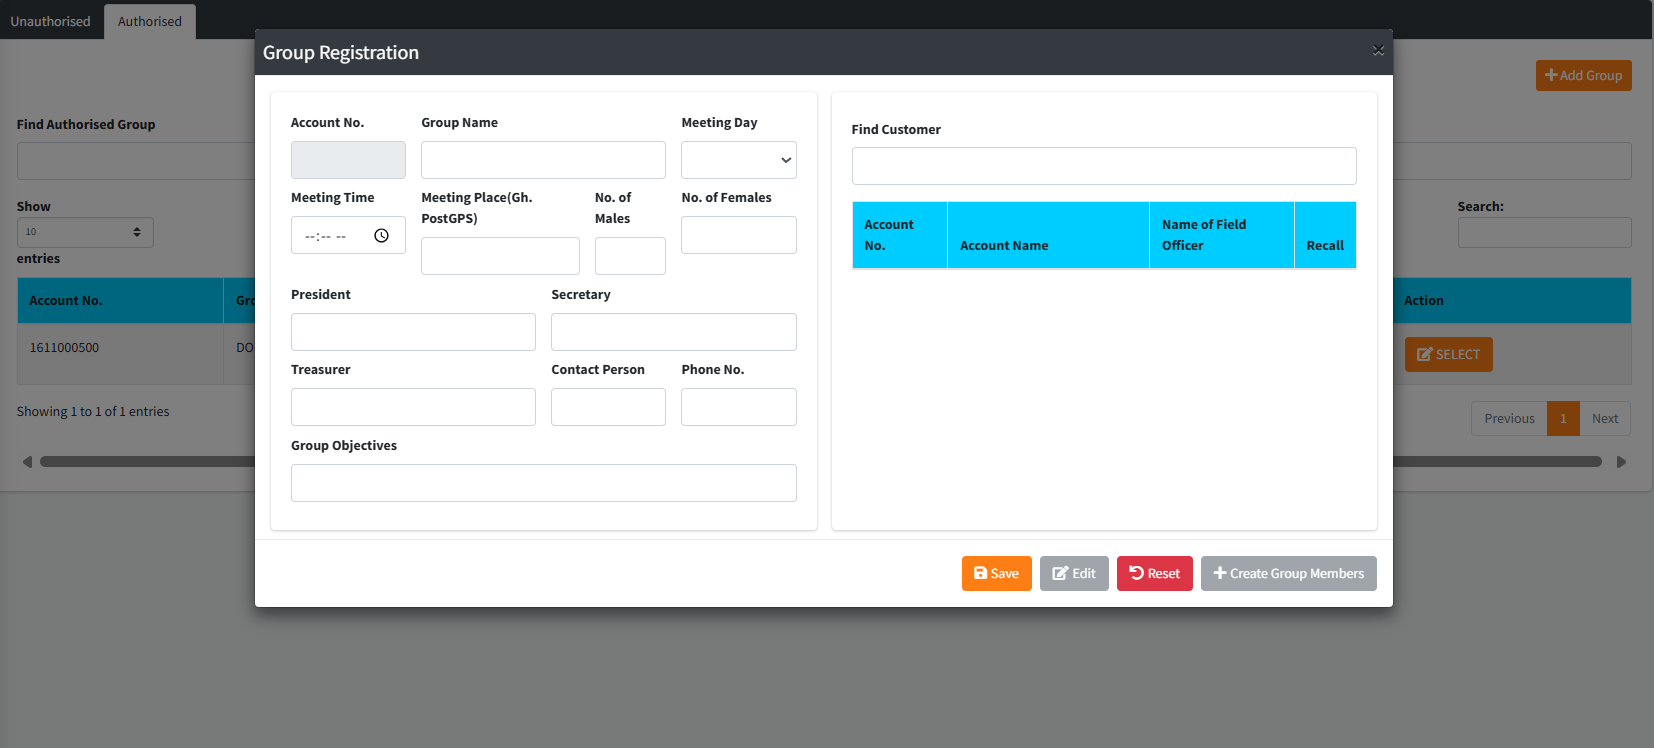
Step 2 — Creating a New Group Profile
- Click the Add Group button to open the registration form.

- Basic Info: Enter the Group Name and select the Meeting Day (e.g., Every Monday).
- Logistics: Capture the Meeting Time and Meeting Place (using Ghana Post GPS coordinates).
- Statistics: Input the number of Males and Females currently in the group.
- Objectives: Define the primary purpose of the group (e.g., “Mutual Savings”).
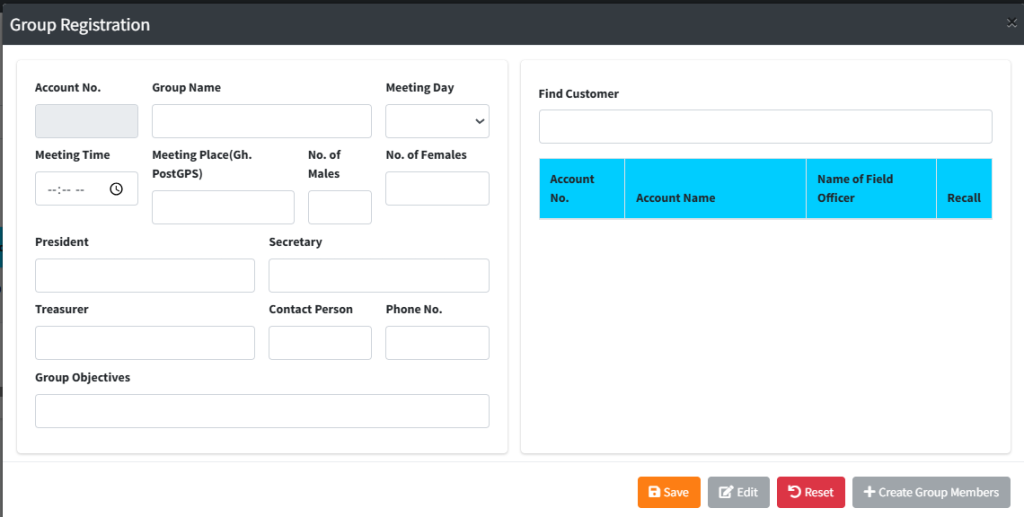
Step 3 — Documenting Leadership Fill in the specific officer fields to define accountability:
- President / Secretary / Treasurer: Enter the full names of the primary executives.
- Contact Person: Designate one individual for all official institutional communications.
- Phone No.: Provide the verified mobile number for the group’s lead representative.
Step 4 — Adding Group Members
- Once the group profile is saved/recalled, the Create Group Members button will become active.
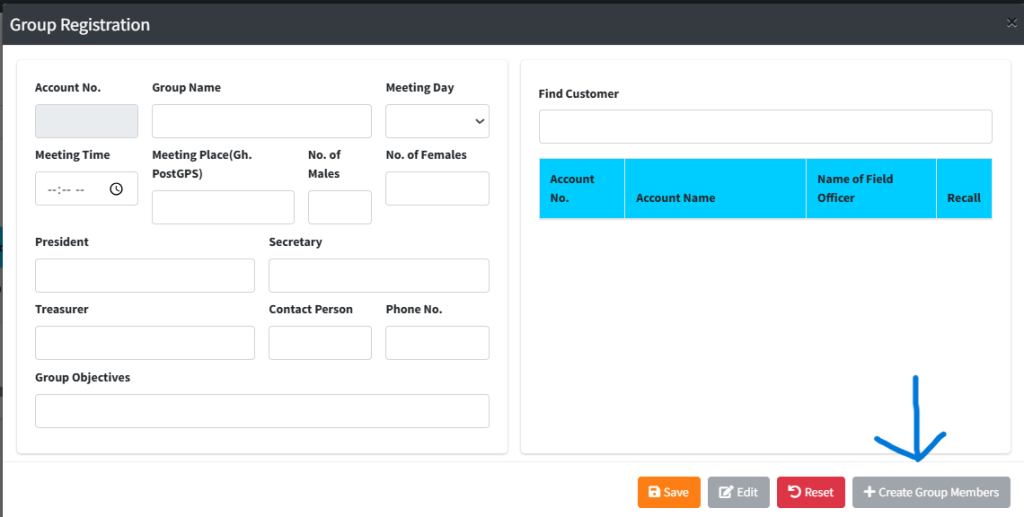
- Click Find Customers and Add as Group Members.
- Use the search tool to locate existing registered customers.
- Select the customer and click Add to Group.
- Review: The “Group Members Register” will now show the member’s name, occupation, and phone number linked to this group.
Step 5 — Finalizing & Authorization
- Click Save to submit the group profile for review.
- System Action: The group remains in the Unauthorised queue.
- A supervisor must verify the group credentials on the Group Auth page before group-based transactions (like Group Loans) can be processed.
KEY NOTES
- Pre-requisite: Every group member must first be registered as an Individual Customer through the standard Registration module before they can be added to a group.
- Dynamic Statistics: While you manually input “No. of Males/Females” during setup, the actual linked member list provides the definitive audit trail for reports.
- Recall Function: Use the Recall button in the search table to update group leadership or add/remove members as the group evolves.