
The Standing Order page is a central hub for managing automated, recurring funds transfers between accounts. This module allows staff to schedule regular payments (like loan deductions or savings contributions), set specific frequencies (daily, weekly, monthly), and manage the active/stopped status of these continuous instructions.
PURPOSE
- Automate recurring transfers between two specified accounts (e.g., from a Customer’s Savings to a Loan Repayment account).
- Prevent missed payments by scheduling them in advance with defined frequencies.
- Maintain an organized ledger of all active and stopped standing orders.
- Provide a robust interface to search for, edit, temporarily “Stop”, or delete existing standing orders.
STEP-BY-STEP GUIDE
Step 1 — Select Standing Order Type
- Navigate the Back Office Module and access the Standing Order page, you are immediately presented with a “Select Standing Order Type” prompt.
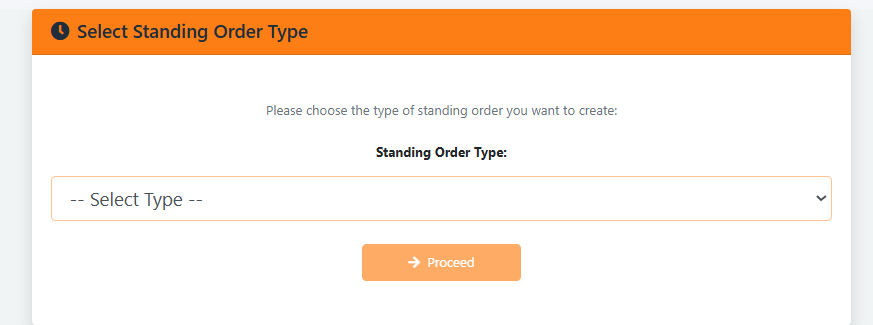
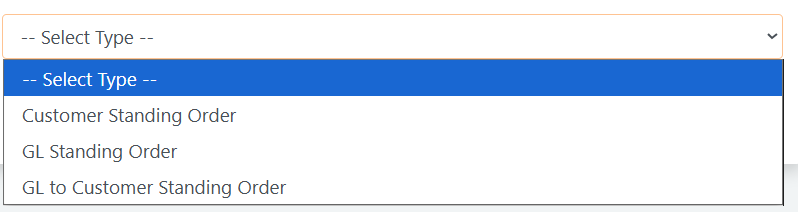
- Use the dropdown to choose the nature of the transfers you want to manage:
- Customer Standing Order: Recurring transfers between customer accounts.
- GL Standing Order: Recurring transfers between General Ledger accounts.
- GL to Customer Standing Order: Recurring transfers from a GL account to a Customer account.
- Click the orange Proceed button to load the main dashboard for that specific type.

Step 2 — Viewing Existing Standing Orders
- Based on your initial selection, the table at the bottom of the page will populate with relevant records.
- Changing Types: If you realize you need a different standing order type, click the Change Type button located in the top right header to return to the type selection page.
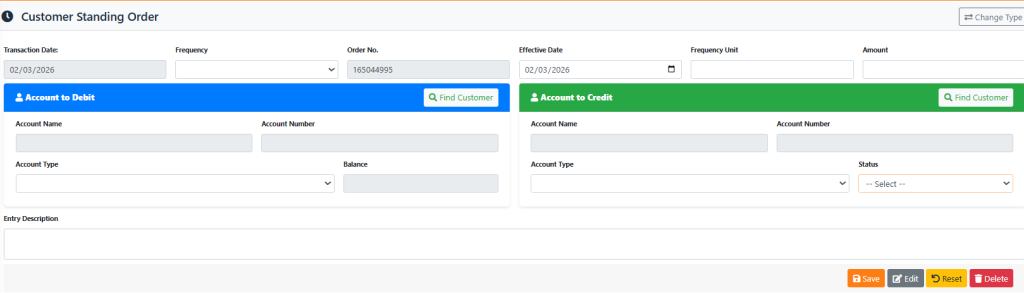
Processing a “Customer Standing Order”
Use this to automate transfers between two customer accounts (or products).
- Set the Frequency (Daily, Weekly, Bi-Weekly, or Monthly). The Effective Date calculates automatically based on the Transaction Date.

- Enter the recurring Amount.
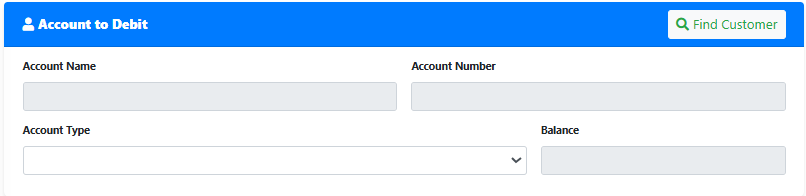
- Under Account to Debit, click Find Customer to search and link the source account. Wait for the account Type and Balance to load.
- Under Account to Credit, click Find Customer to select the destination account. Select the specific Account Type (e.g., Susu, Checking) for the deposit.
- Provide a short Entry Description.
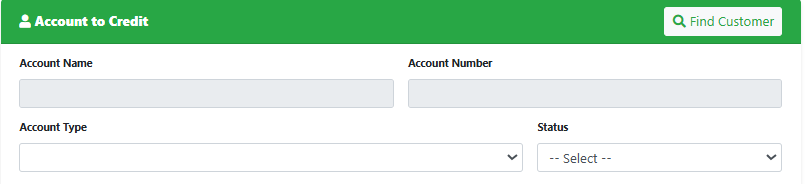
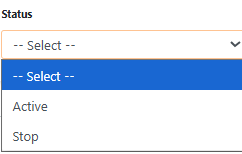
- Ensure the “Status” is set to “Active”. Check your data and click the blue Save button.
Processing a “GL Standing Order”
Use this option to automate internal transfers between two General Ledger accounts.
- Define the Effective Date, the recurring Amount, and the transfer Frequency.

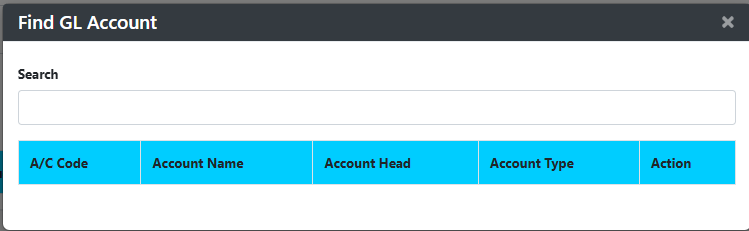
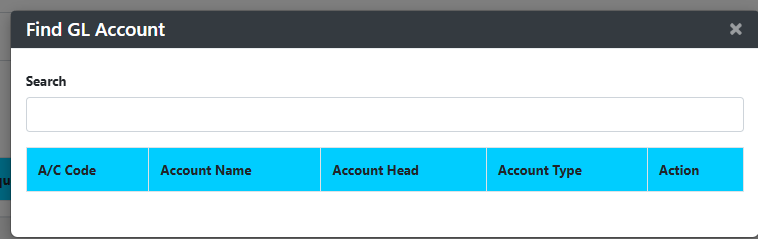
- A/C to Debit: Click the dark options button (
...) to open the ‘Find GL Account’ overlay. Search for and select the source General Ledger account.

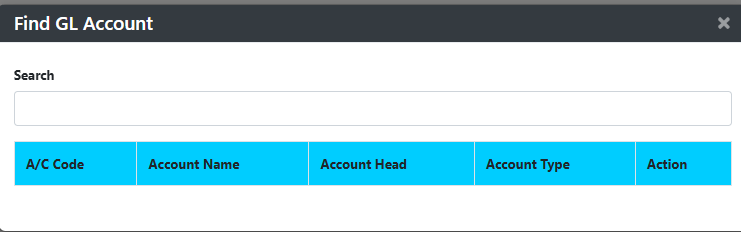
- A/C to Credit: Click the dark options button (
...) to open the ‘Find GL Account’ overlay. Search for and select the destination General Ledger account.

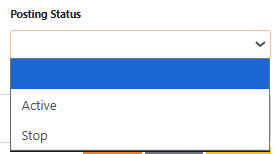
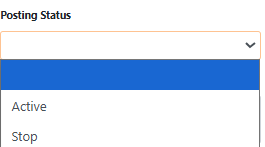
- Ensure the Posting Status is set to “Active” and input a Description.
- Click the blue Save button.

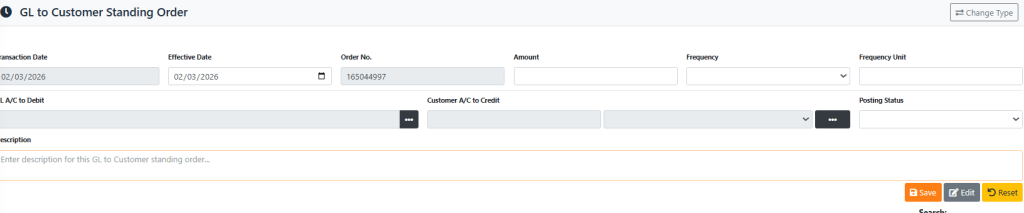
Processing a “GL to Customer Standing Order”
Use this option to automate transfers from a General Ledger account directly into a specific Customer’s account.
- Define the Effective Date, the recurring Amount, and the transfer Frequency.

- GL A/C to Debit: Click the dark options button (
...) to search for and select the source General Ledger account.

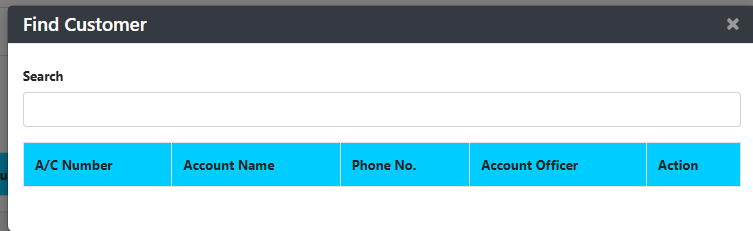
- Customer A/C to Credit: Click the dark options button (
...) to open the ‘Find Customer’ search overlay. Search for and select the destination Customer account.

- After selecting the Customer, use the Account Type dropdown next to their name to specify the exact product receiving the funds.
- Provide a Description, set the Status to Active, and click Save.
Step 3 — Editing or Stopping an Active Standing Order
- To modify an instruction or temporarily halt it, locate the record in the main table layout and click SELECT or RECALL.

- Up top, the form fields will populate with existing details.
- Click the grey Edit button to unlock the fields.
- If an account lacks funds or the customer requests a pause, change the Status dropdown to Stop.
- Click Save to commit the changes. (To permanently remove the order, click the red Delete button if available).
KEY NOTES
- Different Accounts Required: You cannot set up a standing order where the “Account to Debit” and “Account to Credit” are identical. A transfer must occur between two distinct accounts or products.
- Sufficient Balance: The system checks the source account balance “Account to Debit” upon setup to ensure the first payment clears. However, ongoing payments require manual monitoring or automated system sweeps.
- Auto Effective Dates: Changing the “Frequency” instantly recalculates the “Effective Date” relative to the current transaction date, minimizing manual calendar math errors.