
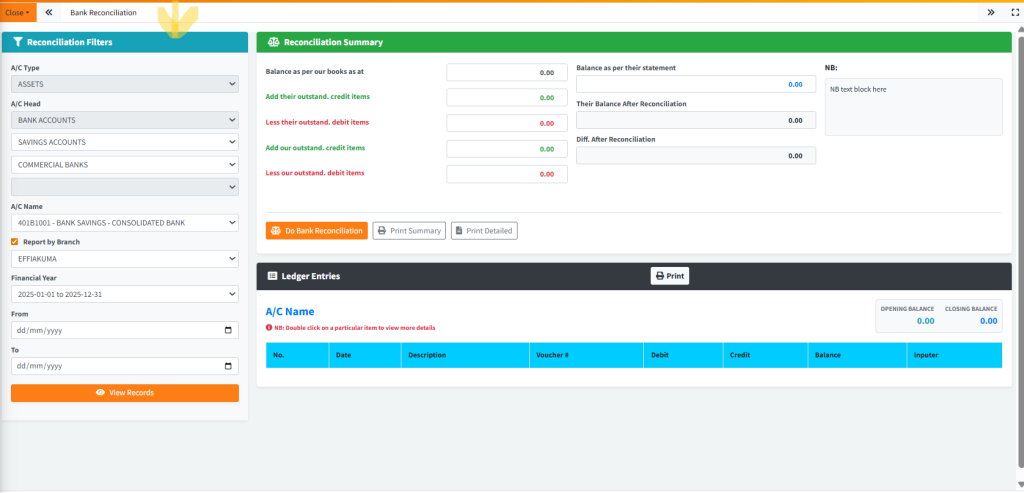
The Bank Reconciliation module provides financial administrators the tools to systematically compare internal financial records against external bank statements. It features an intuitive, dual-panel layout where users can filter down to specific bank ledgers on the left and immediately interact with live reconciliation summaries and ledger entries on the right. This ensures all cash book balances match the actual funds held at correspondent banks.
PURPOSE
- Accurately match internal GL (General Ledger) bank account balances with corresponding external bank statements.
- Visually track outstanding deposits (credit items) and unpresented cheques (debit items) from both “our” perspective and “their” (the bank’s) perspective.
- Auto-calculate the adjusted balances to highlight and resolve any financial discrepancies.
- Generate accurate, printable reconciliation summary reports and detailed ledger item lists for auditing purposes.
STEP-BY-STEP GUIDE
Step 1 — Accessing the Module and Filtering
- Navigate to theBack Office Module and select Bank Reconciliation page via the main navigation sidebar.
- Direct your attention to the Reconciliation Filters panel on the far left.
- Use the hierarchical dropdowns to locate your target Bank Account. Typically, you will select the target bank directly from the A/C Name dropdown.
- Verify the Financial Year is correct.
- Set your target date range using the From and To date pickers.
- Click the blue View Records button at the bottom of the filter panel.
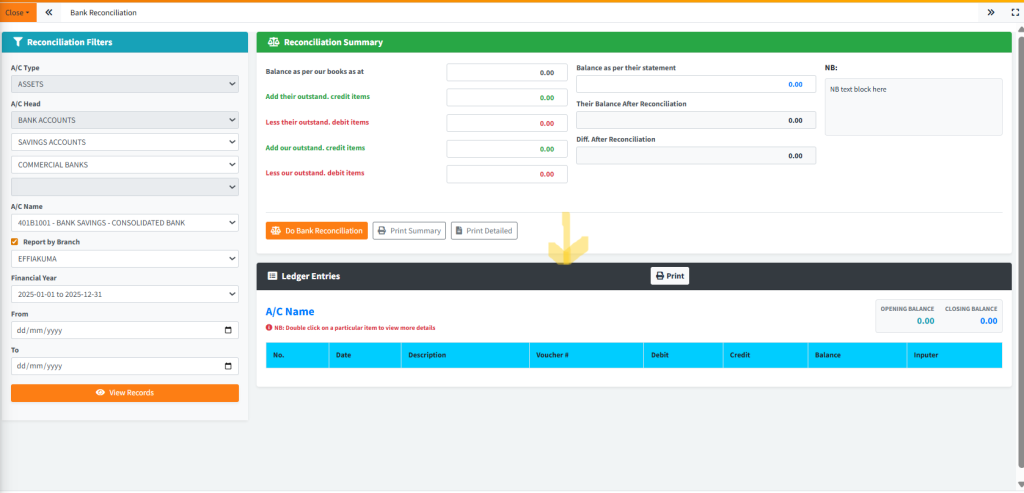
Step 2 — Interpreting the Ledger Entries
- After clicking “View Records”, shift your attention to the bottom-right panel labeled Ledger Entries.
- Notice the large text indicators displaying the Opening Balance and the Closing Balance based on your requested date range.

- The data table below will list every debit and credit transaction that occurred during your selected period.
- Double-click on any individual row to drill down into the specifics of that transaction if required.
Step 3 — Performing the Reconciliation
- Move to the top-right panel labeled Reconciliation Summary.
- Notice the top field: Balance as per our books as at… is automatically populated based on your ledger’s closing balance.
- Manually enter the closing balance from your physical or digital external bank statement into the right-hand column field labeled Balance as per their statement.
- Identify any discrepancies in the lower table, and input missing items into the appropriate calculation fields:
- Add their outstand. credit items (Amounts the bank has credited, but are not in your cash book).
- Less their outstand. debit items (Amounts the bank has debited, but are not in your cash book).
- Add our outstand. credit items (Unpresented cheques – amounts you deducted, but the bank hasn’t yet).
- Less our outstand. debit items (Uncredited deposits – amounts you added, but the bank hasn’t yet).
- As you type into these adjustment fields, the system will automatically calculate the Their Balance After Reconciliation and instantly show the Diff. After Reconciliation box.
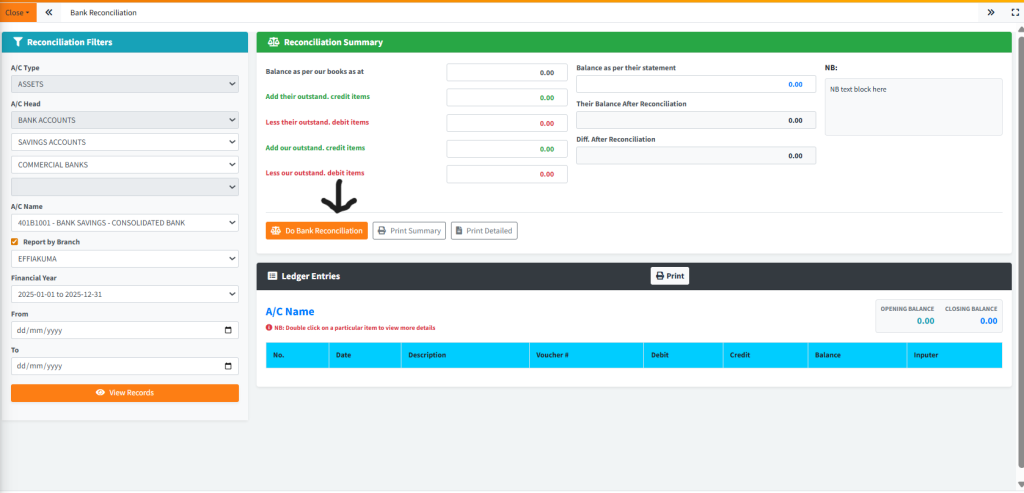
Step 4 — Finalizing and Reporting
- If the “Diff. After Reconciliation” resolves to
0.00, your accounts are perfectly synchronized. - Click the orange Do Bank Reconciliation button to officially stamp and lock the reconciliation.
- Use the Print Summary or Print Detailed buttons to generate physical or PDF copies of the reconciled state for your end-of-month financial packs.
KEY NOTES
- Real-Time Calculation: The difference calculator is live. Ensure your negative additions are placed in the correct “Less” inputs to allow the internal calculator to do the subtraction automatically.
- Reporting by Branch: If you operate a multi-branch network, utilizing the Report by Branch checkbox filter on the left allows you to isolate reconciliation activities to specific cost centers.
- Double Click Drill-downs: The ledger table supports double-click interaction to quickly jump into specific voucher histories without leaving the active reconciliation screen.